dockerized CLARIN DSpace
This is meant to provide an easy way to install CLARIN DSpace by providing a Docker Compose setup that automatizes the installation as far as possible. Additionally all files that need to be customized or added are also part of this repository.
How to use it
You need a Linux server (we tested on Ubuntu 16.04 and CentOS 7.3) with a recent install of Docker (we tested with 17.05.0-ce). Clone this git repository onto the server. Then you need to look through all the files in commul-customization and adapt the configuration to your server (domain name, user names, etc).
None of the files contain passwords, but all files which need passwords in them are in the repository as .dist files. To insert the passwords you need to remove the dist ending and then run password_mod.sh (after you've modified it with your passwords).
Exemplary workflow
get Dockerfiles
git clone https://github.com/commul/clarin-dspace-docker
cd clarin-dspace-docker
get my versions of dist files
cp password_mod.sh.dist password_mod.sh
cp commul-customization/init-dspace-dbs.sh.dist commul-customization/init-dspace-dbs.sh
cp commul-customization/local.properties.dist commul-customization/local.properties
change passwords
vi password_mod.sh
chmod +x password_mod.sh
./password_mod.sh
make sure the certificate and key are there
cp -r /tmp/certs ./commul-customization/build the images
docker-compose up -d --buildenter the DSpace container
docker exec -ti clarindspacedocker_dspace_1 bashdeploy DSpace
make new_deploycopy over modified aai_config.js
cp /tmp/aai_config.js /opt/lindat-dspace/installation/webapps/xmlui/themes/UFAL/lib/js/create dspace admin as tomcat8, so that the log files have the right owner
su  -s /bin/sh tomcat8
/opt/lindat-dspace/installation/bin/dspace create-administrator
start the dspace webapp
cd /opt/repository/sources/dspace/utilities/project_helpers/scripts
/etc/init.d/tomcat8 start
DSpace directory structure
This is the directory structure
├── clarin-dspace-docker
│   └── commul-customization
└── kubernetes
    ├── helm
    │   └── dspace
    │       ├── charts
    │       │   └── postgresql
    │       │       └── templates
    │       └── templates
└── yaml-
/clarin-dspace-docker- Docker files, copied from https://github.com/commul/clarin-dspace-docker @ 74d06d35 . With this directory, you can build images -
/kubernetes/helm- Chart Directory. Refer to https://github.com/kubernetes/helm/blob/master/docs/charts.md#the-chart-file-structure ❗ not working yet ❗ -
/kubernetes/yaml- Useful for tests, but helm is a more flexible approach With this directory, you can deploy images in kubernetes cluster
Introduction
Prerequisites
- Kubernetes cluster
To interact with cluster
- Kubernetes credentials
- a working [kubectl] (https://kubernetes.io/docs/tasks/tools/install-kubectl/)
To interact with Helm server (tiller) -- Coming soon
- Kubernetes credentials
- a working [kubectl] (https://kubernetes.io/docs/tasks/tools/install-kubectl/)
- a working [helm client] (https://docs.helm.sh/using_helm/#quickstart-guide)
How to use it
Workflow
First of all, check if a docker image already exists. If it exist, pull, otherwise, you need to build one. If necessary create a personal token and login into GitLab Registry.
docker login gitlab.scientificnet.org:4567Use existing Docker image
docker image ls -a gitlab.scientificnet.org:4567/commul/dspace/*
docker pull gitlab.scientificnet.org:4567/commul/dspace/<my_image>:<my tag>
Build images
- build your docker image from
/clarin-dspace-dockerdirectory - push to
https://gitlab.scientificnet.org/commul/dspace/container_registry
docker build -t gitlab.scientificnet.org:4567/commul/dspace/<my_image>:<my tag> -f Dockerfile.XX .
docker push gitlab.scientificnet.org:4567/commul/dspace/<my_image>:<my tag>
Installation
This step in a "workspace preparation" and is not directly related with dspace.
Provide gitlab & RBD credentials
$ kubectl -n dspace-dev create -f gitlab-scientificnet-org-registry.yaml$ kubectl -n dspace-dev create -f rbd-secret.yamlPostgreSQL
To install PostgreSQL, we need some passwords, so we need Kubernetes secrets
$ kubectl -n dspace-dev create -f postgresql-secret.yaml
secret "dspace-postgresql" created
$ kubectl -n dspace-dev create -f dspace-secrets.yaml
secret "dspace-secrets" created$ kubectl -n dspace-dev get secrets
NAME TYPE DATA AGE
ceph-rbd-secret kubernetes.io/rbd 1 14m
default-token-c1pd4 kubernetes.io/service-account-token 3 4d
dspace-postgresql Opaque 1 1h
dspace-secrets Opaque 1 1m
gitlab-scientificnet-org-registry kubernetes.io/dockerconfigjson 1 46mNext, create a RBD Claim
$ kubectl -n dspace-dev create -f postgresql-pvc.yaml
persistentvolumeclaim "dspace-postgresql" created

$ kubectl -n dspace-dev get pvc
NAME                STATUS    VOLUME                                     CAPACITY   ACCESSMODES   STORAGECLASS   AGE
dspace-postgresql   Bound     pvc-610c358d-a518-11e7-b21c-b60483de6a40   8Gi        RWO           auto           2s
Ok, now we are ready to deploy our PostgreSQL!
$ kubectl -n dspace-dev create -f postgresql.yaml

$ kubectl -n dspace-dev get po
NAME                                 READY     STATUS              RESTARTS   AGE
dspace-postgresql-1806947503-cj077   0/1       ContainerCreating   0          2s

$ kubectl -n dspace-dev get po
NAME                                 READY     STATUS    RESTARTS   AGE
dspace-postgresql-1806947503-qw8q4   0/1       Running   0          9s

$ kubectl -n dspace-dev get po
NAME                                 READY     STATUS    RESTARTS   AGE
dspace-postgresql-1806947503-qw8q4   1/1       Running   0          46s
We have now launched the pod but we have to wait until the pod is up before accessing it
$ kubectl -n dspace-dev exec -it dspace-postgresql-1806947503-qw8q4 bash
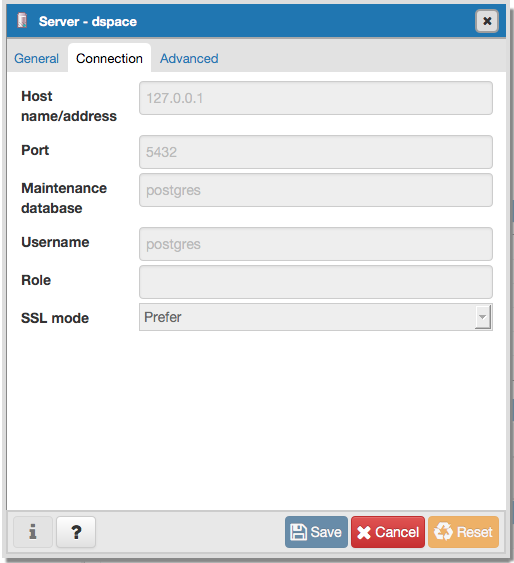
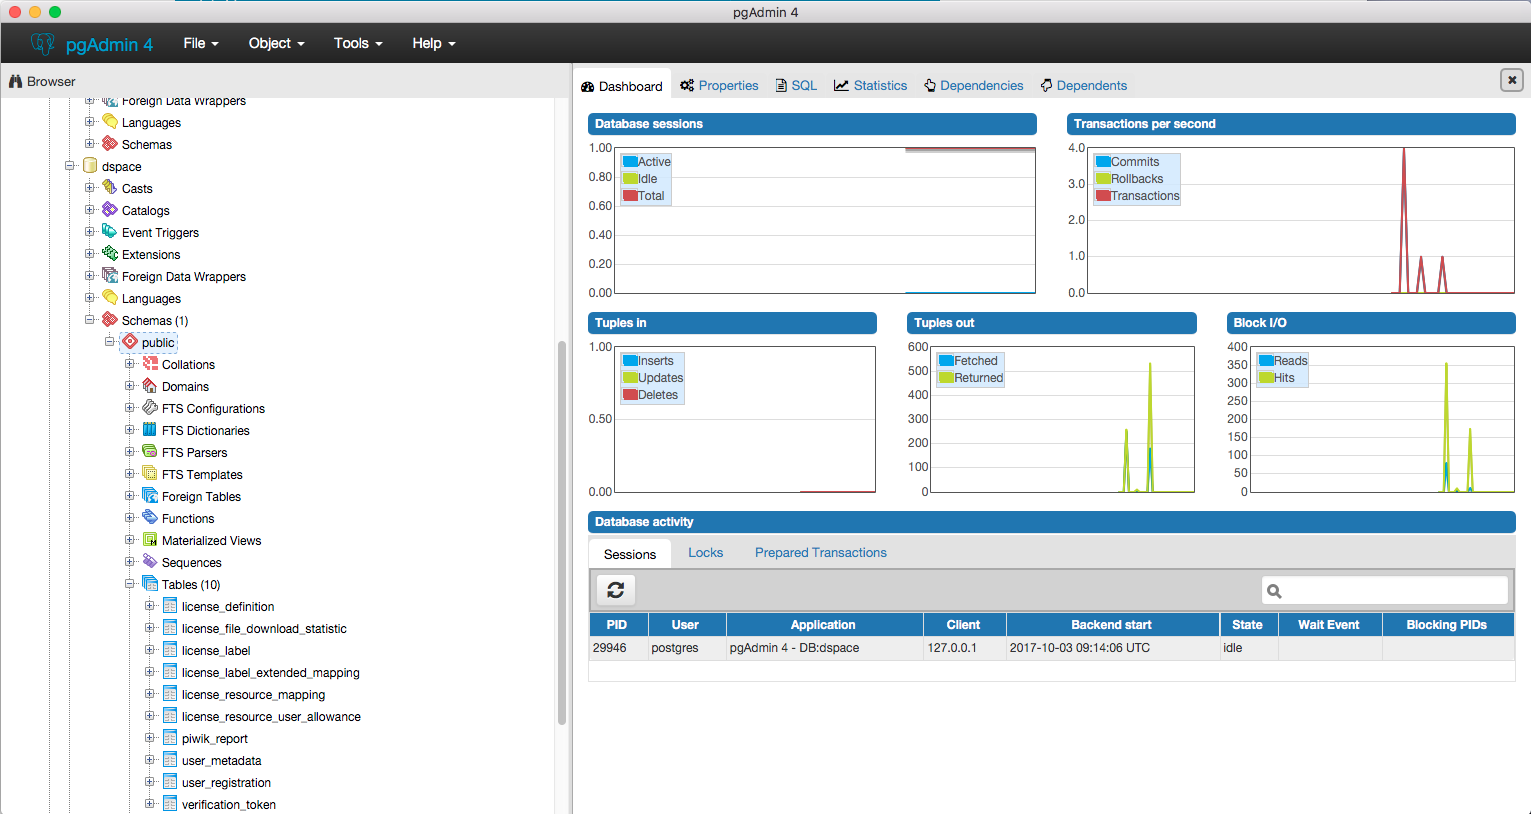
root@dspace-postgresql-1806947503-qw8q4:/#Also, we can also test our PostgreSQL installation with a port forward
$ kubectl -n dspace-dev port-forward dspace-postgresql-1806947503-qw8q4 5432:5432now we are able to connect to localhost:5432
$ kubectl -n dspace-dev create -f postgresql-service.yaml
service "dspace-postgresql" created
$ kubectl -n dspace-dev exec -it servlet env | grep POSTGRESQL
DSPACE_POSTGRESQL_SERVICE_PORT_POSTGRESQL=5432
DSPACE_POSTGRESQL_PORT_5432_TCP_ADDR=10.13.0.173
DSPACE_POSTGRESQL_SERVICE_HOST=10.13.0.173
DSPACE_POSTGRESQL_PORT_5432_TCP_PROTO=tcp
DSPACE_POSTGRESQL_PORT_5432_TCP_PORT=5432
DSPACE_POSTGRESQL_SERVICE_PORT=5432
DSPACE_POSTGRESQL_PORT=tcp://10.13.0.173:5432
DSPACE_POSTGRESQL_PORT_5432_TCP=tcp://10.13.0.173:5432DSpace
$ kubectl -n dspace-dev create -f servlet.yaml
pod "servlet" created
$ kubectl -n dspace-dev get po
NAME READY STATUS RESTARTS AGE
dspace-postgresql-1806947503-qw8q4 1/1 Running 0 4d
servlet 1/1 Running 0 34s$ kubectl -n dspace-dev logs servlet
[Wed Oct 4 12:24:25 UTC 2017] Starting
[Wed Oct 4 12:24:25 UTC 2017] Cloning lindat-dspace repository...skip! /opt/repository/sources/dspace already exists
[Wed Oct 4 12:24:25 UTC 2017] Creating workspace...skip! /opt/repository/workspace already exists
[Wed Oct 4 12:24:25 UTC 2017] Copy makefile...skip! /opt/repository/workspace/config/variable.makefile already exists
[Wed Oct 4 12:24:25 UTC 2017] Copy local.properties...skip! /opt/repository/workspace/sources/local.properties already exists
[Wed Oct 4 12:24:25 UTC 2017] Compilation and Deployment of DSpace...already done
already done
already done
[Wed Oct 4 12:24:25 UTC 2017] Copy aai_config.js...skip! /opt/lindat-dspace/installation/webapps/xmlui/themes/UFAL/lib/js/aai_config.js already exists
[Wed Oct 4 12:24:25 UTC 2017] Create dspace admin...already done
[Wed Oct 4 12:24:25 UTC 2017] Starting Tomcat...Starting Tomcat 8...
Tomcat started.$ kubectl -n dspace-dev port-forward servlet 8080:8080
Forwarding from 127.0.0.1:8080 -> 8080
Forwarding from [::1]:8080 -> 8080connect to http://localhost:8080/repository/xmlui/#